In today’s digital landscape, engaging your website visitors is more critical than ever. Interactive content has proven to be one of the most effective ways to capture attention and enhance user experience. But what if you don’t know how to code? That’s where Elementor comes into play. This powerful WordPress page builder allows you to create stunning, interactive elements without writing a single line of code. In this guide, we’ll walk you through the steps to create interactive elements using Elementor, helping you transform your website into an engaging experience for your users.
Why Interactive Content Attracts Attention
Interactive content goes beyond static text and images; it encourages user participation, making your website more dynamic and engaging. When users interact with your content, they’re more likely to stay on your site longer, explore more pages, and ultimately convert into customers. Whether it’s through quizzes, sliders, or pop-ups, interactive content provides a richer experience that can significantly reduce bounce rates and increase conversions.
For instance, while simple text content can be effective in some scenarios, it often lacks the engagement needed to hold a user’s attention. By incorporating interactive elements, you can add a layer of action to your content, making it more compelling and enjoyable for your audience.

Getting Started with Elementor
Elementor is a drag-and-drop page builder for WordPress that allows you to design beautiful web pages with ease. To get started, you’ll need to install the Elementor plugin, which is available for free. However, for more advanced features, including interactive elements, the Essential Addons for Elementor is a highly recommended extension.
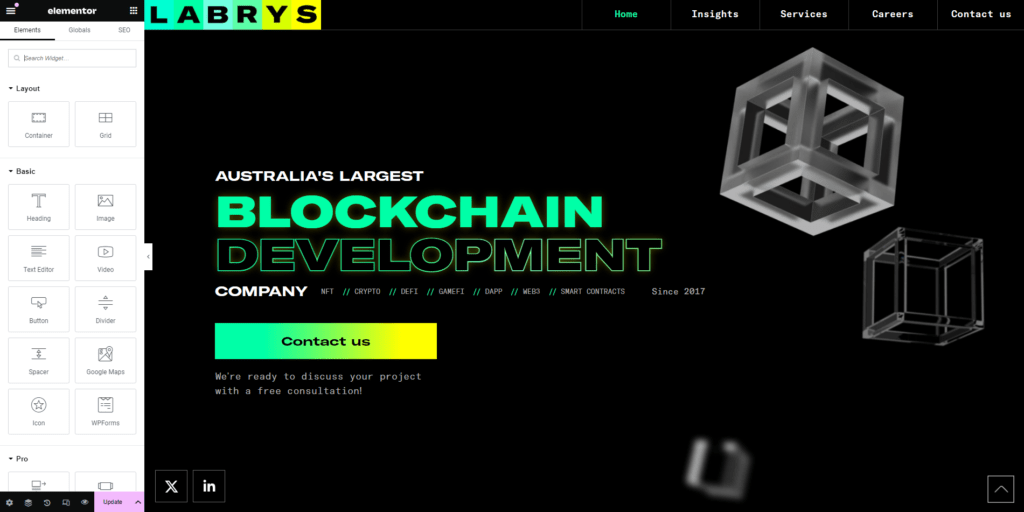
Once you’ve installed Elementor and any necessary add-ons, you’ll find a user-friendly interface where you can begin building your pages. The Elementor interface consists of three main areas:
- Side Panel: This is where all the available elements are listed. You can drag and drop these elements onto your page.
- Footer Panel: This allows you to undo/redo changes, save your work as a draft, or publish your page.
- Canvas: The blank area where you’ll build your page. You can add new templates or sections here and see your design come to life in real-time.
Creating an Interactive Promo Element
One of the most popular interactive elements in Elementor is the Interactive Promo element. This element is part of the Essential Addons bundle and allows you to create eye-catching promotional content with animated effects. Here’s how you can create one:
- Install the Required Plugins: Make sure Elementor and Essential Addons are installed and activated.
- Add a New Post or Page: Navigate to your WordPress dashboard and click “Add New” under the Posts or Pages menu.
- Open Elementor: Click the “Edit with Elementor” button to enter the Elementor interface.
- Search for the Interactive Promo Element: In the Side Panel, search for “EA Interactive Promo” and drag it to the Canvas.
- Customize Your Element: You’ll now see various customization options in the Side Panel. Start by adding your content, including text and images. Adjust the animation settings to make your promo more dynamic.
Adding and Styling Interactive Elements
Customization doesn’t end with just adding content. Elementor allows you to style your elements extensively. You can adjust typography, colors, borders, and more to ensure your interactive elements match your brand’s aesthetic. Here’s how you can do it:
- Style Your Element: In the Style tab, choose from various options to tweak the appearance of your promo element. You can set the maximum width, border radius, and even add shadows for a 3D effect.
- Optimize for SEO: Don’t forget to add ALT tags to your images and ensure your text is clear and concise. These steps will help improve your site’s search engine rankings.
